I’m sure you’ve experienced that sinking feeling of opening the wardrobe door and being faced with a wall of clothes that you just can’t bear to throw away. We’re all guilty of keeping hold of those jeans we haven’t fit in since 2011 and stashing that crochet top that looked flawless on the Cosmopolitan model but looks more like a table runner on you.
Instead of trying (and failing) to have a clear out, why not get creative? Up-cycling is still super trendy and doesn’t always have to be a big project like turning a suitcase into a coffee table. Unleash your inner Handy Andy and clear some space (for more shoes) by turning some of your forgotten fashions into things you will actually use.
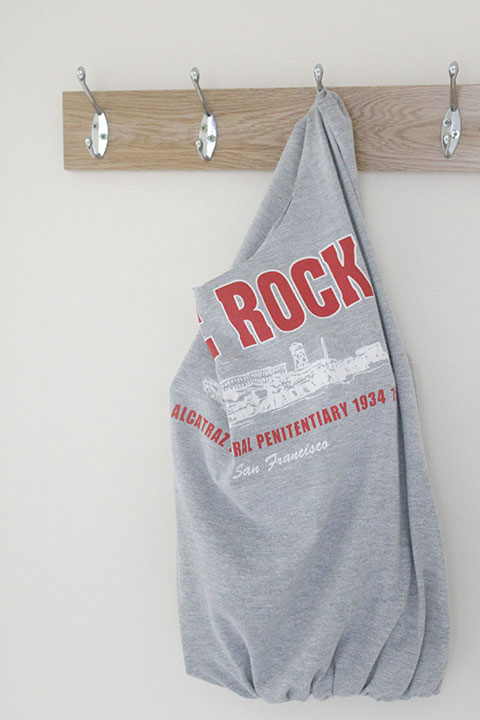
This bag was made out of an old favourite faded t-shirt that I couldn’t bear to part with. With just a pair of scissors, a bowl and a pen I’ve created a bag that’s perfect for weekend trips to farmers markets, walks along the beach or just to pop my purse in for the school run. I made it in less than ten minutes – much quicker than taking a trip to a charity store or convincing myself to throw it out!
You will need
- An old t-shirt
- A large bowl
- A pen
- Fabric scissors
How to make your t-shirt into a bag:
1. Before you start, iron your t-shirt. This is the most boring part of the making process but your bag will look much better for it at the end!
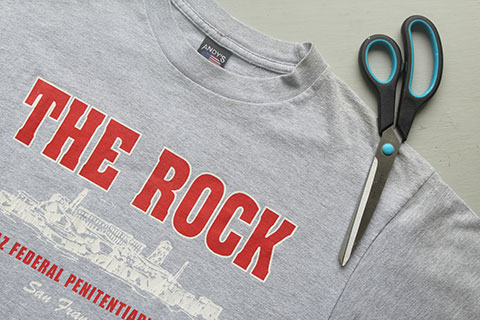
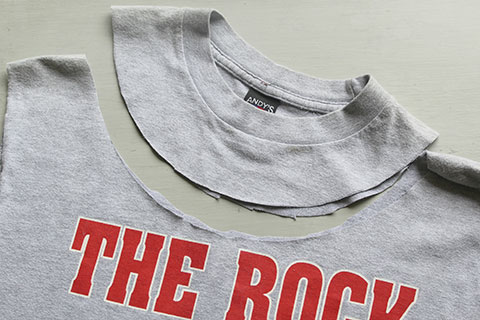
2. Lay your t-shirt down and then cut away both sleeves.

3. Put your bowl onto your t-shirt covering up the neckline and a couple of inches below (this should be in a semi-circle shape). Using your pen, draw around the bowl and then cut this shape out too.
4. Turn your t-shirt inside out and lay it flat. Using your pen draw a horizontal line across the bottom of the t-shirt a few inches from the bottom. This will be the base of your new bag.
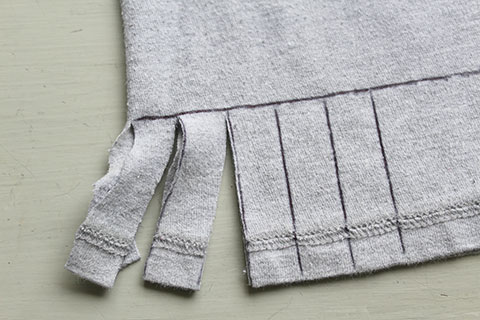
5. Using your scissors, cut vertical lines from the bottom of your t-shirt up to your horizontal line. These should be about ¾ of an inch to an inch apart and you will be cutting through both sides of the t-shirt making the tassels into little pairs. You can mark these lines out first if you want to make sure they are even.
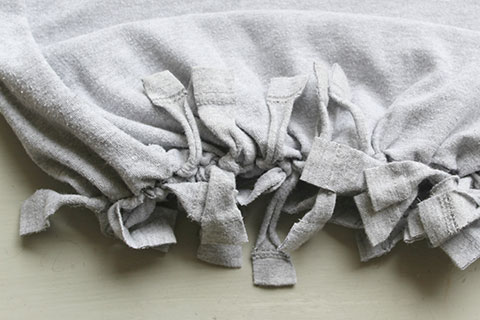
6. Take each pair of tassels and tie them into a double or treble knot. To make the bag even more secure take one part of each tassel that is hanging down and tie it into a new knot with the tassel hanging from the next knot. This will decrease any gaps between the knots and make it more secure.
Turn your bag back the right way out and you are ready to go. This bag is a great upcycling project for adults and kids alike, and the perfect way to avoid carrier bag charges!
Why don’t you check out what’s in your own wardrobe, attic or even self storage unit and see what you think you can up-cycle. Start small and then work up to bigger projects as you start to feel more confident. Share your ideas below.
About Crafts on Sea
Kate Williams is a blogger and stay at home mum to two small but spirited superheroes. She writes the crafts and family lifestyle blog Crafts on Sea where she shares fun but achievable craft ideas for children and grown ups, free colouring pages and parenting advice as a mum who’s been there too.


I really like your site and I recommended it to my parents.
Hi, I read your blogs every week. Keep doing what you’re doing!
Hey, very interesting blog!
This blog gives us useful information, keep it up!
Your article was truly informative. Your blog is useful. Thank you for sharing!
This was a wonderful article. Many thanks for supplying these details.