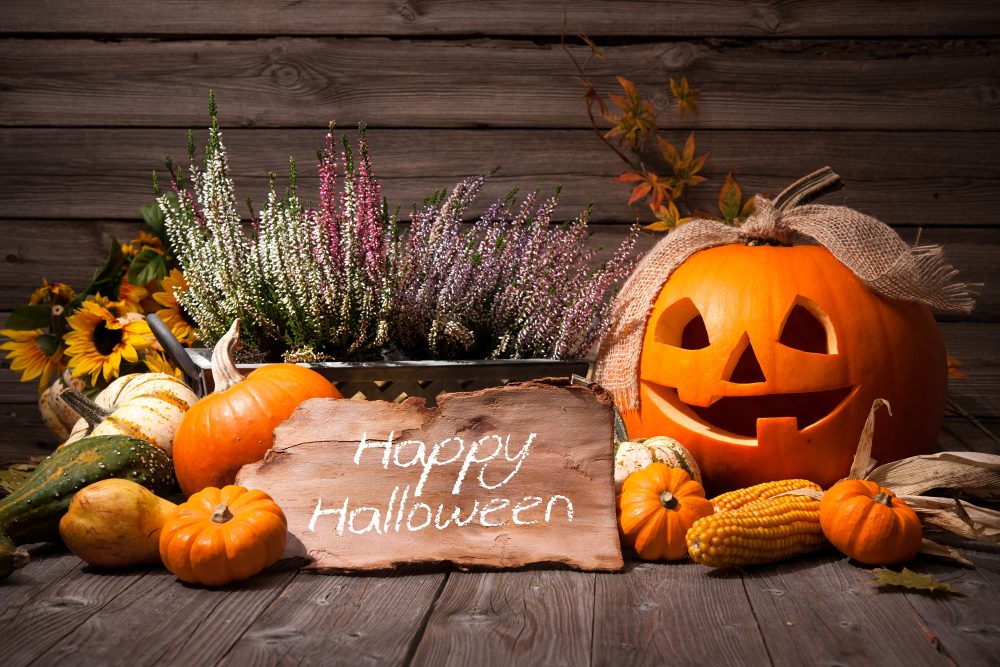
Halloween is nearing! But not without your own unique Jack-O-Lantern.
This carved pumpkin with candle is one of the most important pieces of Halloween decoration. Want to create one yourself or put your children to work? It’s a piece of cake if you follow our step-by-step guide!
Step 1: The most important part
… is of course the pumpkin itself. Tiny pumpkins or gourds can serve as extra decoration, larger rounded pumpkins are more suited for a Jack-O-Lantern.
Step 2: Think before you start
Attacking your pumpkin completely unprepared can of course be fun, but bear in mind that you cannot undo the carving. Therefore we advise you to first make a sketch of the design you have in mind.
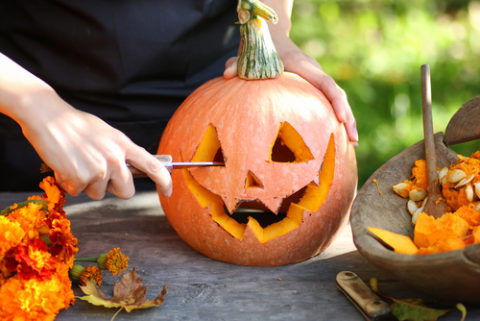
Step 3: Remove the top
To scoop out the flesh and seeds from the pumpkin, you need an opening that is large enough.
So cut the lid from the lantern by removing the top and stalk. A cutter or a sharp knife will do the trick, but a small handsaw it very handy as well, as this is the hardest part of your pumpkin.
Keep your knife at an angle so your opening has a conical shape.
Step 4: Scrape the flesh and seeds

Now scrape all the flesh and seeds from the pumpkin with a spoon – or even easier – with an ice cream slice.
When everything has been scraped away, you can make soup with the pumpkin flesh and roasted pumpkin seeds. Zero-waste!
Step 5: Draw your design
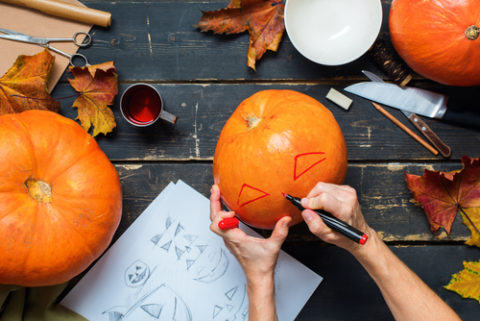
Your pumpkin is now ready for the artistic part so do let your creativity run wild!
Draw your design (step 2) on the pumpkin with a (not too sharp) pencil or felt pen. This is easily erasable and allows mistakes.
No drawing talent? Don’t worry, you can download plenty of ready-to-use templates on the internet. Simply print your template, tape it onto the pumpkin, and poke holes around the design so the paper can be removed.
Step 6: Start carving

Use a sharp knife or small handsaw to cut out your design, starting at the centre and working outwards.
Watch out, a pumpkin is quite soft and will offer little resistance when you cut out the shapes. So precision work is best done with a cutter.
Step 7: Preserve your pumpkin
Pumpkins are organic, so basically it’s impossible to stop the rotting process. But there are some tricks to extend your carved pumpkin’s life.
First clean the exterior and interior of the pumpkin to help prevent mold. Another method to prevent your carved pumpkin from rotting is to bleach it or to spray it with hairspray or acrylic finish spray. Afterwards let your pumpkin dry fully.
Step 8: Paint and decorate
Now you can paint your pumpkin in any colour you like – black, white, gray … – just let your imagination go wild. We love glow-in-the-dark spray – invisible during the day, creepy at night! For sale for £5 on www.amazon.co.uk.
Use fake blood, branches or buttons to make your pumpkin even more unique. You can also drill holes along the grooves of the pumpkin and push gold-colored nails into the holes.
Step 9: Set the stage for Halloween
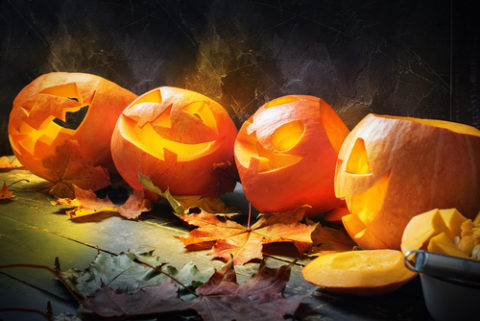
Now your pumpkin is ready, you can show it to the outside world. Put in a candle in the evening – make sure nothing can catch fire.
What pumpkin designs do you like to carve? Leave a comment below.

Leave a Reply