
Good question! And one where I need the answer.
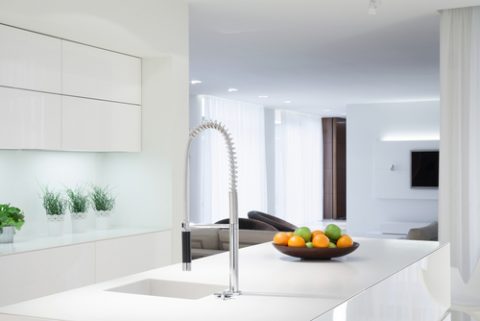
I am extending my house and building a new kitchen. Starting with a blank canvas is so exciting and I’m looking forward to organising my new space in the optimal way.
The kitchen is the most ‘used’ room in the house after-all, so it needs style and function in equal measure. Here’s the lowdown on what to consider.
What is that?
What’s hiding in those cupboards?!

Have a spring clean first. Check dates on packages and cans – there’s bound to be a tin of custard that past its expiry date somewhere. Get rid of chipped plates you don’t use and mis-matched cutlery you never get out.
What do I use most?
Whether you’re a budding Delia or a seasoned pro – really think about the equipment you use.
Pots and pans need to be the most accessible and conveniently located. But how often do you use your bread maker or juicer?
Be ruthless. Seldom used items don’t need to be on display in your kitchen. Never used again items need to be donated or sold. Countertops should be as clear as possible.
Where will I need that?
Most kitchens are based on a work triangle – the most efficient (i.e. shortest!) distance between stove, sink and fridge.
The same logic should be applied to your kitchen organisation. If you break it down, you cook in stages. Zone up your kitchen in the same way:
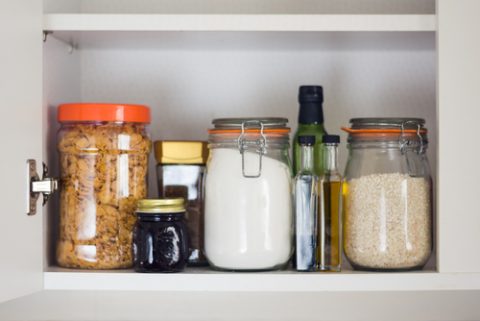
Zone 1 – Food storage
Have dedicated food cupboards and organise ingredients in categories to make finding items much easier. Use top shelves for lesser used ingredients, and eye-level for the day-to-day.
See-through containers are ideal for rice, pasta and cereals. They stack neatly and help you monitor how much you have left. This should stop you cramming those cupboards with duplicate ingredients!
Another top tip? Pull-out drawers are the best, but if you are updating an existing kitchen – keep condiments on an unused baking tray. You can pull it out to see what you need. No more knocking those bottles over.
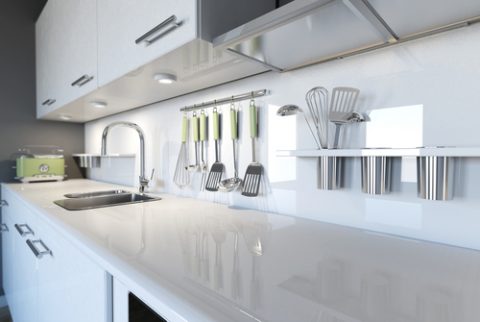
Zone 2 – Preparation
Utensils need to be in grabbing distance of your prep zone.
A decorative pot with wooden spoons and spatulas can be placed next to your hob. Or use hanging rails – a brilliant use of space that looks stylish and is hands-on convenient.
For everything else, place it in the nearest drawer. Drawer dividers are fab, they will keep everything neatly arranged so you don’t have to rummage around.
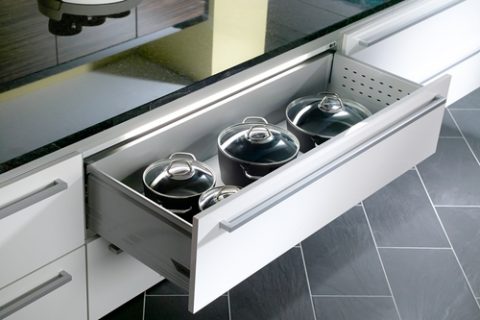
Zone 3 – Cooking
Ok, so your culinary juices are flowing. Make sure there is a flow to your kitchen too!
Baking and roasting trays are best kept under the oven, casserole dishes and bakeware in a nearby cupboard – use wire rack to cleanly store lids and trays. Place pots and pans in deep drawers next to your hob.
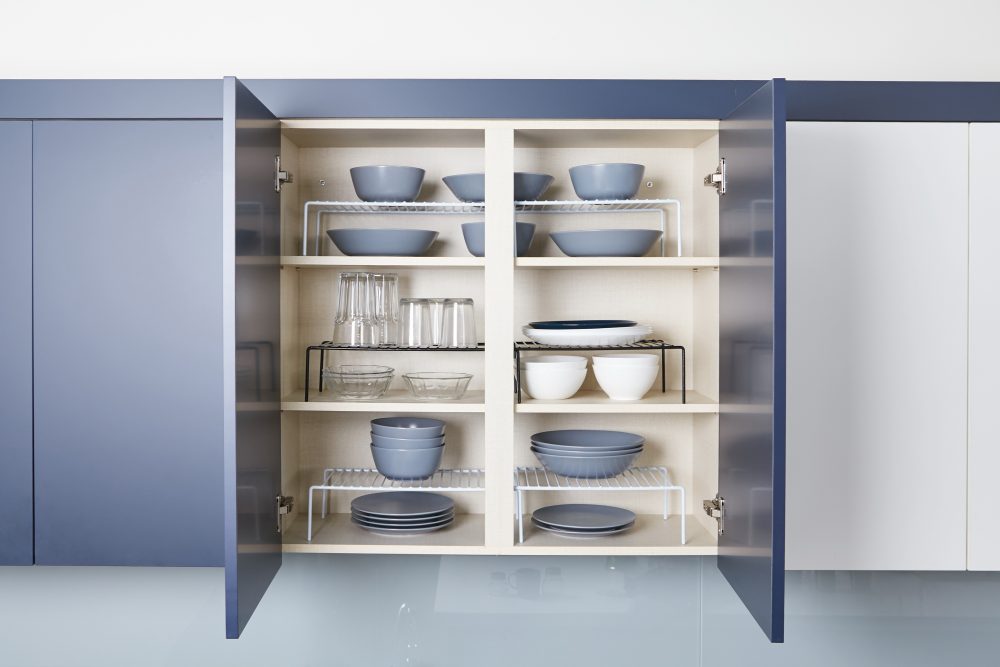
Zone 4 – Serving
Group your day to day plates at the front of your cupboard.
Occasional-use items are best kept in a utility or dining room (if you have one). Place all cutlery neatly in a dedicated drawer – use a cutlery tray to keep everything separated.
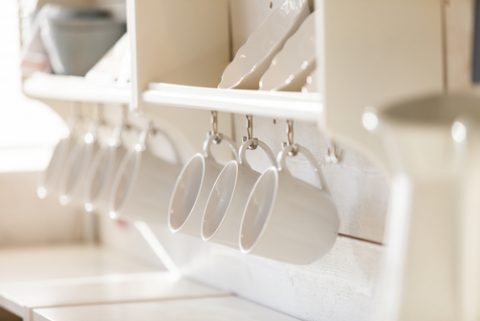
Place glasses in a cupboard nearest the sink or fridge. Mugs take up valuable space in cupboards, so try hanging them from a rail under a cupboard. Next to your kettle obviously!
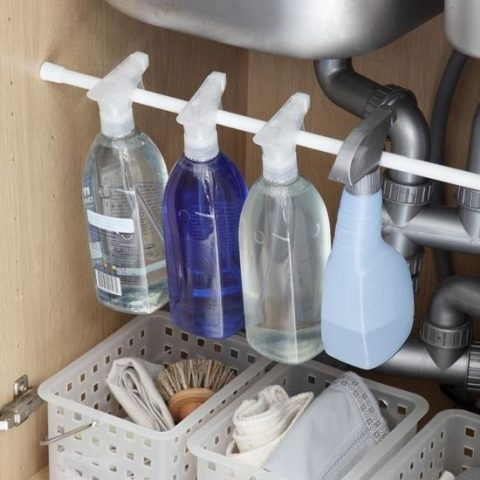
Zone 5 – Cleaning
Rubber gloves and cleaning products can clutter a sink. The under-sink cupboard is the most efficient use of space but be kid-smart and put a safety catch on the door. Tension rods are useful for neatly storing cleaning sprays.
Basket are always great too!
https://i.pinimg.com
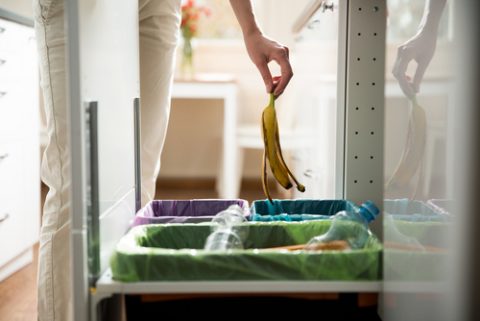
Zone 6 – Waste
Bins are often unsightly and take up a lot of space.
If you can, a bin drawer is the nicest way to shut away your waste – a double bin is best, so you can sort your recycling straight away.
If you follow these principles, your kitchen should be streamlined and well organised. Stylish and functional. For more inspiration you can also check out our blog on Creating More Kitchen Space.
So, I’m prepped to organise my kitchen in the best possible away. Let me know if you have any additional tips in the comments below!


Leave a Reply